Is your Madison Park waterfront home telling the full story online and in person? Buyers here arrive with high expectations for light, views, and effortless indoor–outdoor living. With the right staging and media plan, you can meet those expectations and turn a premium setting into stronger offers. In this guide, you’ll learn what to prioritize, how to budget, a timeline that works in Seattle’s seasons, and the small details that elevate a Lake Washington listing. Let’s dive in.
Why staging matters in Madison Park
Madison Park is a long-established lakeside neighborhood where presentation drives results. Local data signals vary by source. Zillow’s neighborhood index places typical values around the mid-to-upper seven figures, while MLS snapshots on Realtor.com have shown lower medians at times. These measures reflect different methods and property mixes and should be viewed as complementary. What they both point to is a wide range of price points and a premium for homes that showcase lake access and lifestyle.
Evidence backs the investment. According to the National Association of Realtors, many agents report that staging shortens time on market and can lift offers, with living rooms, primary bedrooms, and kitchens rated as the most influential spaces for buyers. You set a higher bar in Madison Park, and staging helps you clear it. NAR’s latest staging report highlights these gains.
Set a smart staging budget
A practical budget aligns with your list price and goals. Nationally, NAR notes a median spend near $1,500 when using a staging service. In competitive Seattle neighborhoods, full-service staging for higher-end homes often pencils out at roughly 0.25% to 0.75% of list price, with consults or partial staging costing less. NAR’s infographic summarizes typical spend and room priorities.
Plan enough time for vendors. Many local stagers can install within one business day for standard homes, with larger estates taking longer. Confirm timelines and de-install terms in your contract. For a sense of local process and turnaround, see VGN Staging’s overview of installs and workflows.
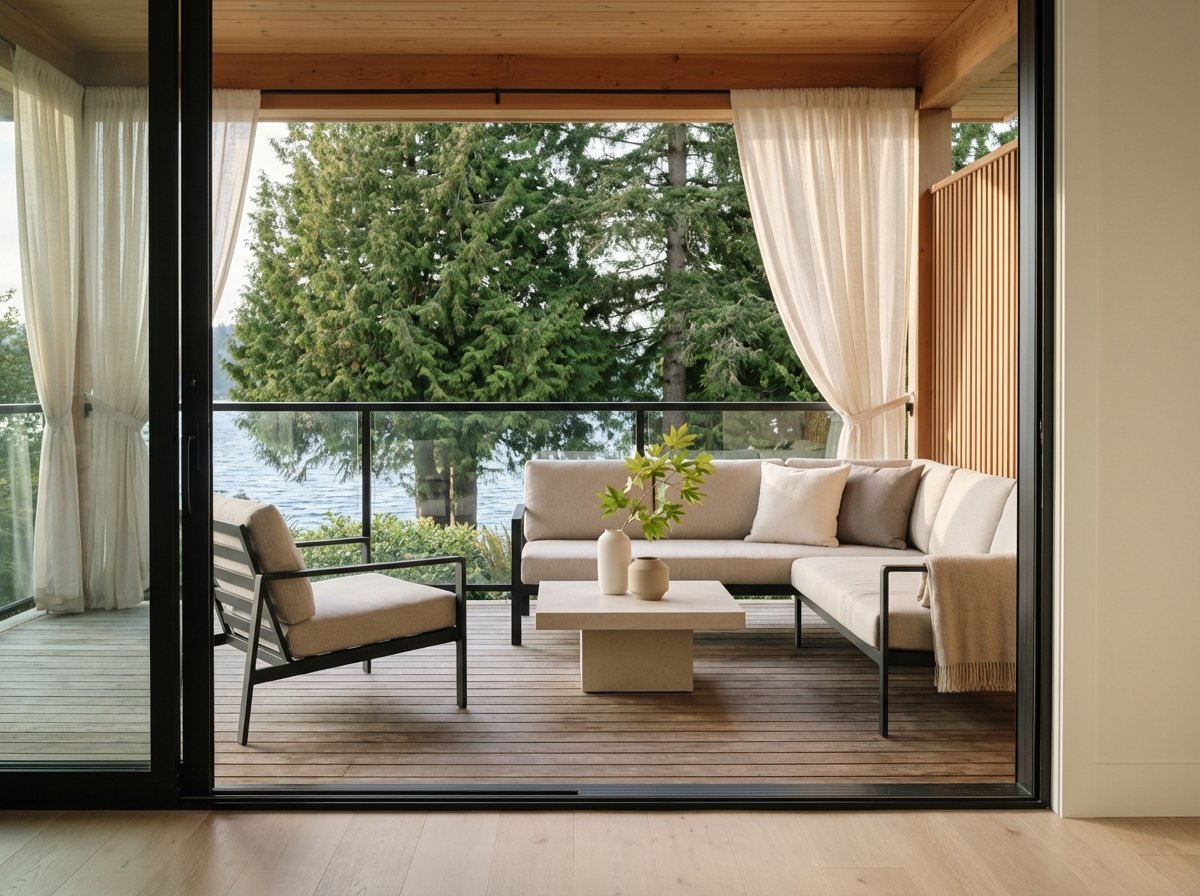
Make the view the hero
Arrange for sightlines
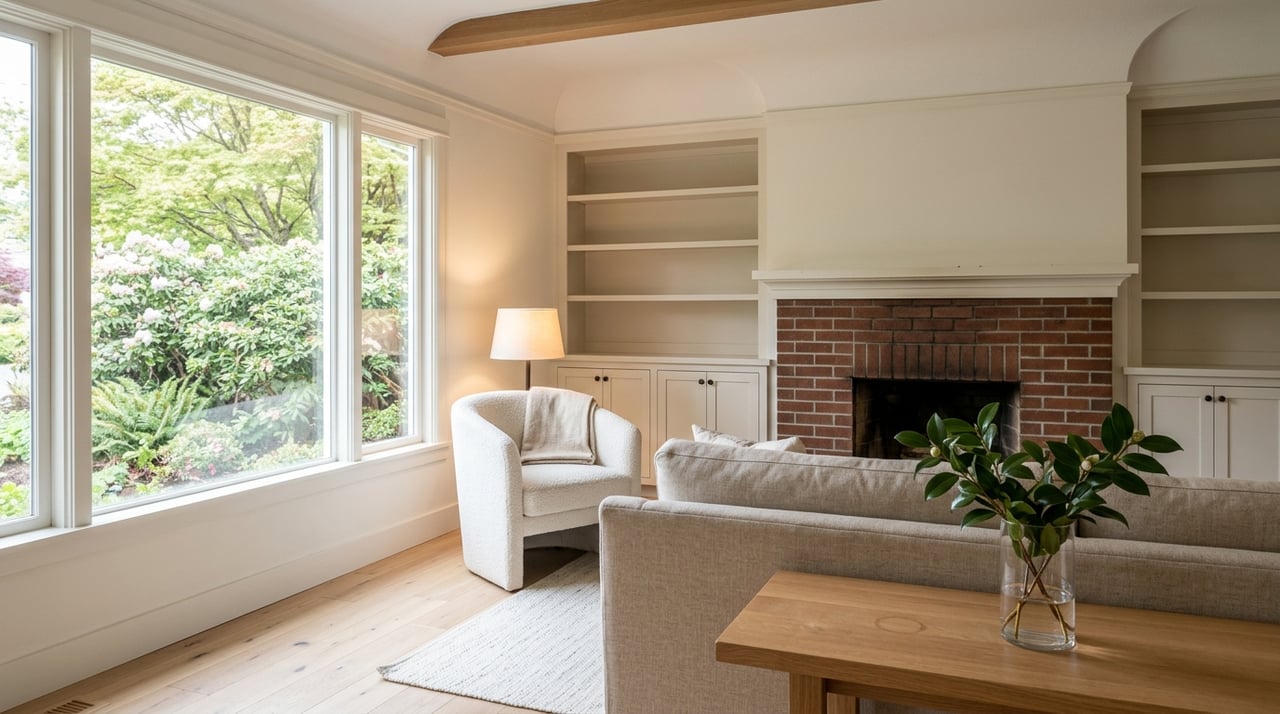
Stage your living room and primary bedroom first. Position seating to face the water or to lead the eye toward the lake as you enter. Keep furniture scaled and low enough so sightlines stay open from doorways and key circulation paths.
Windows and glass
Remove heavy drapes for photos and showings. If privacy is needed, choose low-profile linen panels or motorized shades that clear the glass fully. Clean interior and exterior glass before photo day. Clear panes dramatically improve the sense of depth and clarity to the lake.
Manage Seattle light
Layer warm lighting
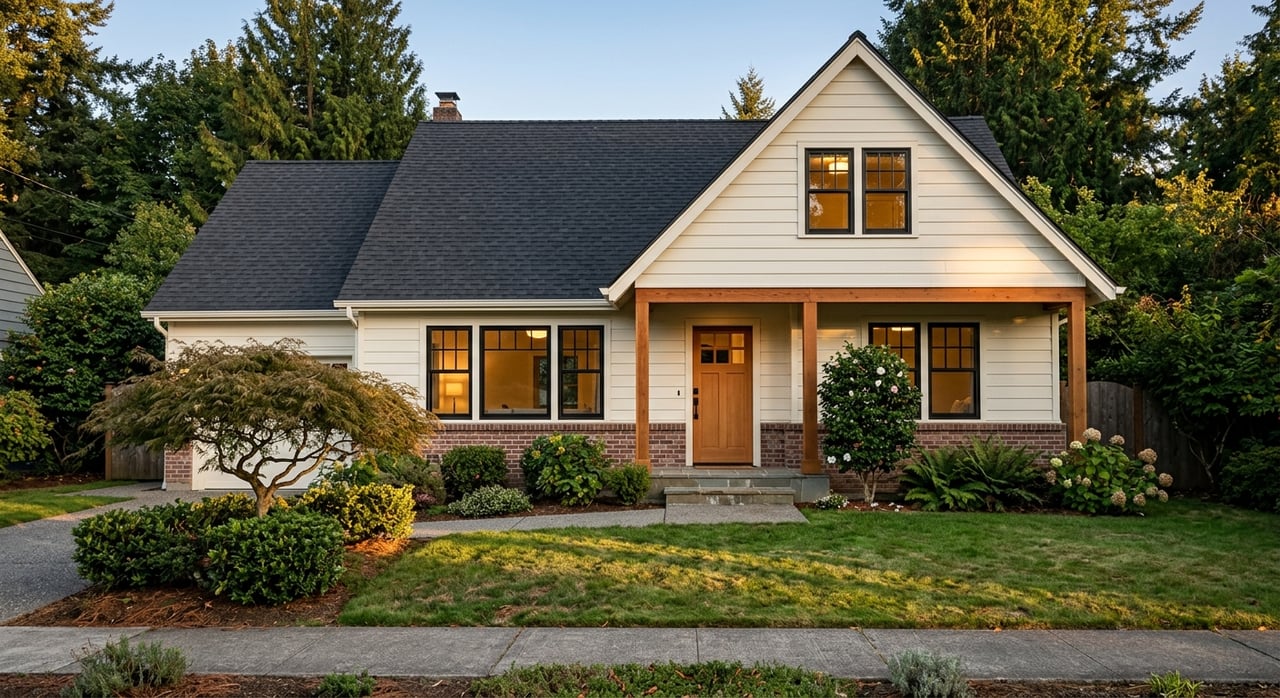
Seattle’s cloudy months can flatten interiors. Use layered lighting with warm bulbs and dimmers to create an inviting glow. For marketing, schedule twilight images to balance interior light with the cool blue of evening. Waterfront homes shine at this hour, when deck lighting and interior warmth read clearly. Learn why timing matters in this guide to exterior and twilight photos.
Stage outdoor living and dock
Decks and terraces are rooms
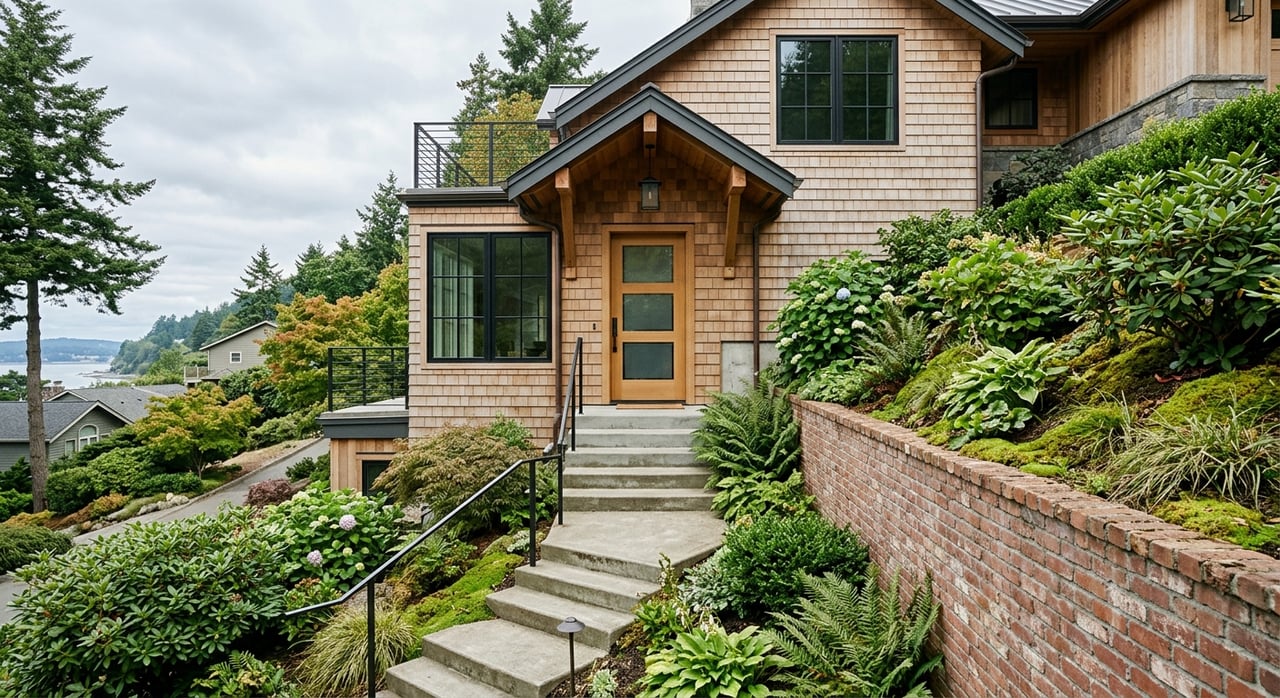
Treat decks and terraces like primary rooms. Create an obvious path from the kitchen or great room to the water-facing areas. Add one clean dining vignette and one relaxed seating area with cushions that nod to a coastal palette. Staged outdoor spaces can boost buyer interest and returns, as shown in Consumer Reports’ review of outdoor-living investments.
Dock and shoreline prep
Tidy the dock. Hose off algae where safe, secure loose items, and store boat gear out of sight. If you are considering structural work such as dock replacement, bulkhead repairs, or adding a float, start early. These projects can require shoreline permitting and interagency review in Seattle. Get familiar with the process through Seattle’s Shoreline Substantial Development Permit guidance.
Balance privacy and views
Privacy matters, but not at the expense of your outlook. Use temporary screening with planters, evergreen pots, or lightweight lattice to soften sightlines during showings. Major tree work can have legal and neighborhood implications. Consult an arborist and your listing attorney before making permanent changes.
Media that sells the shoreline
Twilight and aerial storytelling
Your media package should match the property. Plan for a twilight shoot that captures interior glow, deck lighting, and lake reflections. Aerials can be a strong choice for waterfront listings because they reveal shoreline context, dock setup, and proximity to the village. For inspiration on blue-hour and waterfront capture, review Clarity Northwest’s examples of luxury twilight photography.
If you use drones, hire a Part 107-certified pilot and allow time for airspace approvals when needed. Get a quick overview of commercial drone rules and authorizations in this FAA-focused primer.
Your two-week prep timeline
Day 0–3: Staging consult and quotes
- Book a pre-listing walkthrough with a local stager. Ask them to align the plan with your photographer’s shot list and timing. Many pros turn proposals around within 24 to 48 hours. For context on local installs, see VGN Staging’s process.
Day 3–7: Repairs, paint touch-ups, deep clean, window washing
- Complete quick cosmetic fixes and a full clean before staging. Schedule photographers at least 48 hours out and aim for staging to be complete before photo day.
Day 7–14: Landscaping, dock tidy, small contractor items
- Power wash walkways, refresh planters, and stage outdoor vignettes. Handle cosmetic dock tidying now. Any structural shoreline work should follow the permitting path described by Seattle SDCI’s shoreline program.
Staging install: 1–3 business days
- Typical homes can be staged in a day, while larger properties may need more time. Confirm de-install timing and access instructions.
Photography and media
- Book immediately after staging. Include twilight images and, if appropriate, licensed aerials. Plan a short, well-edited video tour and floor plan to help remote buyers.
Room-by-room and waterfront checklist
Interiors
- Living room: face seating toward the view; keep decor simple.
- Primary bedroom: open view lines; neutral bedding; minimal nightstand items.
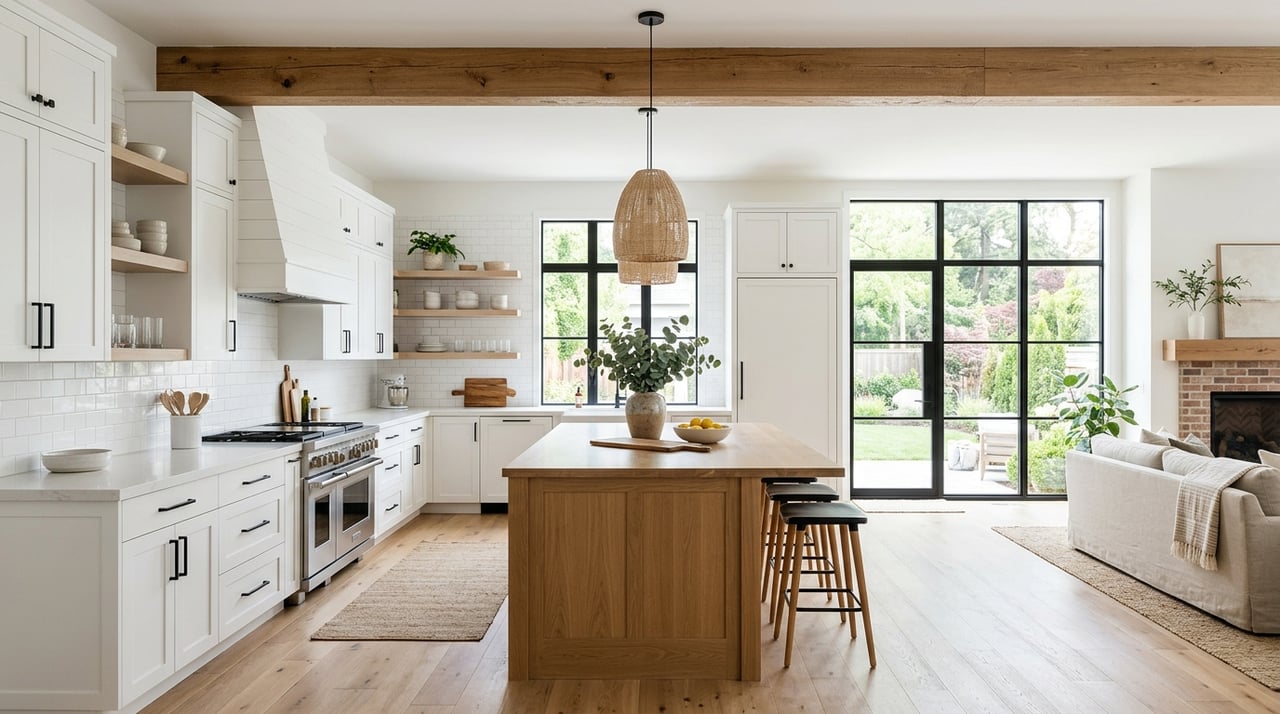
- Kitchen: clear counters; add a simple wood board, vessel, or fresh greens.
- Lighting: use warm bulbs; add table and floor lamps for depth.
- Personal items: store photos and excess furniture.
Exteriors and shoreline
- Power wash decks and railings; clean glass and sliders.
- Stage one dining and one lounge zone outdoors.
- Tidy dock; secure cleats and lines; remove loose gear.
- Test path and deck lighting for twilight.
Media and marketing
- Order pro photography with twilight, floor plans, and a short video.
- Use a Part 107-certified aerial pilot if you add drone footage.
- Coordinate staging to be complete before photos, not after.
Common pitfalls to avoid
- Blocking views with tall furniture or heavy window treatments.
- Over-personalizing with themed decor or bold color accents.
- Ignoring safety items like loose railings or slick stairs to the water.
- Rushing dock repairs that may require shoreline permits.
- Skipping twilight photography or hiring a non-certified drone operator.
Ready to list with confidence
A Madison Park waterfront home deserves a presentation plan that makes lake life feel effortless from the first photo to the last showing. With targeted staging, a smart media mix, and an efficient timeline, you can capture attention and momentum from day one. If you want hands-on vendor coordination, polished marketing, and locally informed guidance, connect with The Shutes Team. Get your instant home valuation and a tailored plan for your shoreline property.
FAQs
What should I budget to stage a Madison Park waterfront home?
- Many sellers plan around 0.25% to 0.75% of list price for full-service staging, while NAR reports a national median spend near $1,500 for staging services.
Which rooms matter most for staging a waterfront listing?
- Focus on the living room, primary bedroom, and kitchen first, since buyers and agents consistently rate these spaces as most influential for offers.
Do I need a permit to repair my dock before listing in Seattle?
- Cosmetic tidying is fine, but structural shoreline work can require permits and interagency review, so consult Seattle SDCI’s shoreline guidance and plan months in advance.
When is the best time to photograph a Madison Park waterfront home?
- Schedule a twilight shoot to balance warm interiors with evening sky and water reflections, as outlined in this guide to best exterior photo timing.
Do I really need aerial photos for a waterfront property?
- Aerials can add valuable context for shoreline, dock, and proximity; if you use a drone, hire a Part 107-certified pilot and follow FAA rules and authorization steps.