Shopping for a Queen Anne home and noticing how fast the good ones go pending? In a competitive neighborhood with many older houses, it can feel risky to write an offer without knowing what’s behind the walls. This guide shows you how pre-inspections work in Queen Anne, what they typically cost, and how to use the results to write a smarter offer. Let’s dive in.
Pre-inspection basics
A pre-inspection is a buyer-ordered inspection that happens before you submit an offer. It gives you a clearer picture of the home’s condition so you can decide how to proceed. This is different from a seller’s pre-listing inspection and different from an inspection you might do after mutual acceptance.
Pre-inspections are visual and non-invasive. Inspectors evaluate major systems, note safety concerns, and flag areas that may need specialist review. The report helps you understand risk and budget for repairs.
Why it matters in Queen Anne
Queen Anne is a low-inventory, competitive Seattle neighborhood where multiple offers are common. A pre-inspection can help you reduce uncertainty and strengthen your offer by waiving or shortening an inspection contingency, or by writing with clear terms based on known findings.
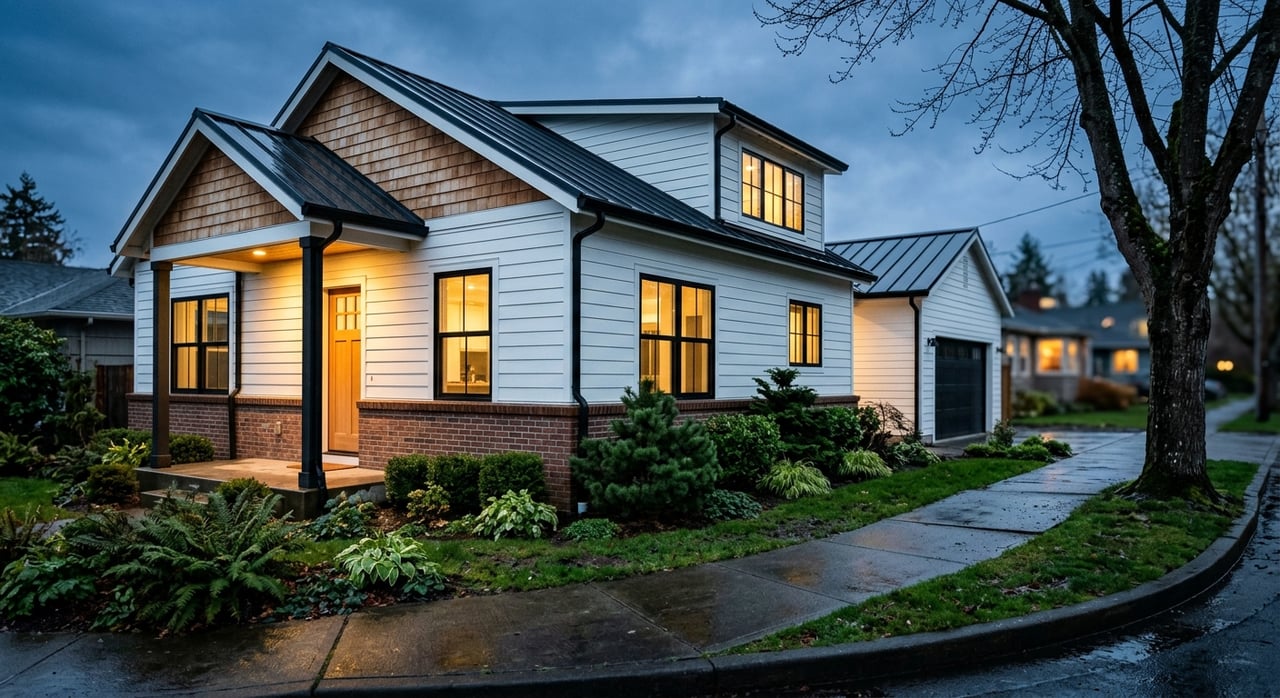
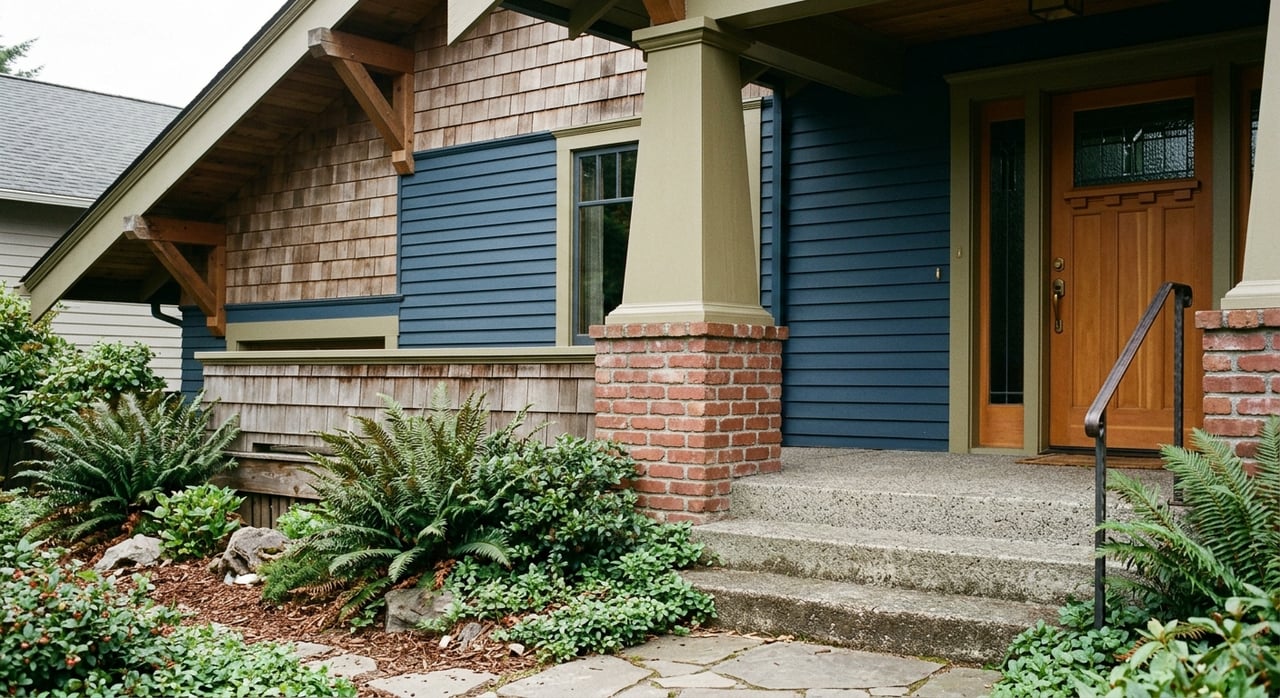
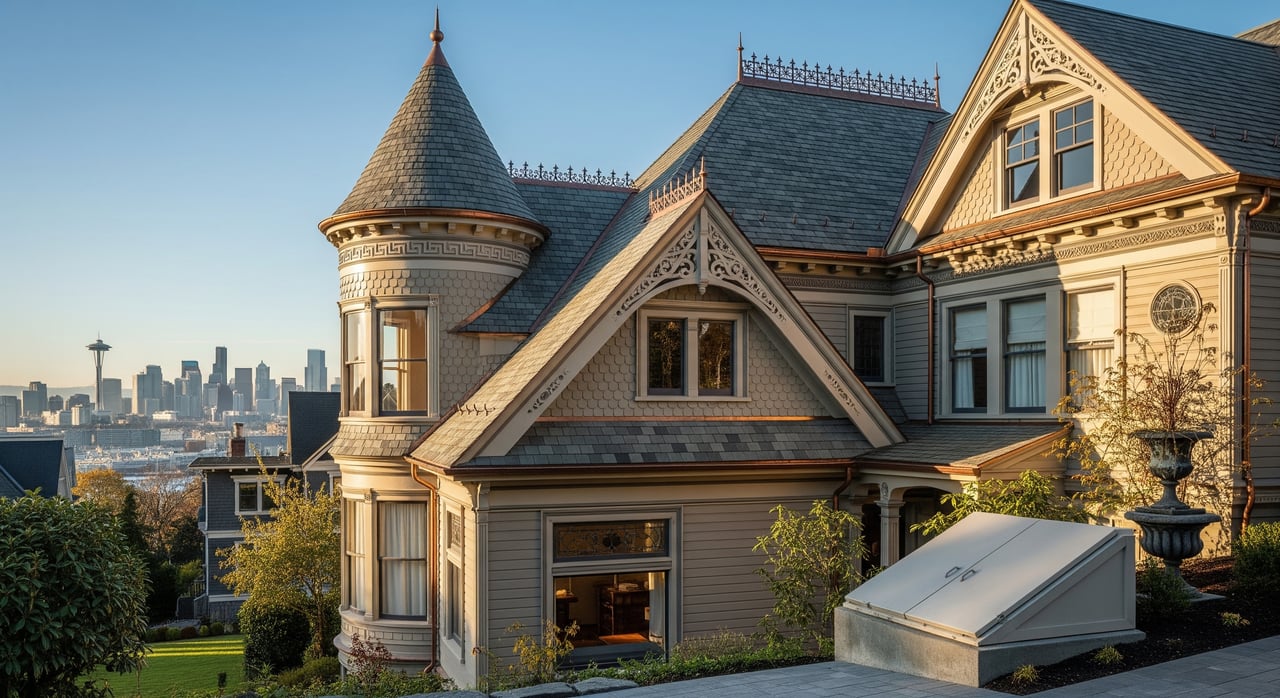
Many Queen Anne homes date to the late 19th and early 20th centuries. Older systems, hillside foundations, and complex rooflines can hide issues. Getting eyes on drainage, retaining walls, wiring, chimneys, and sewer lines early helps you move forward with confidence.
What a general inspection covers
A standard home inspection typically includes:
- Roof, exterior, and site drainage
- Foundation and structure where visible, plus crawlspace or basement
- Attic, insulation, and ventilation
- Plumbing supply and waste lines where accessible
- Electrical panels, visible wiring, and outlets
- Heating and cooling equipment
- Built-in appliances and general interior condition
Inspectors do not open finished surfaces or perform destructive testing. Tall, steep roofs that are common in Queen Anne may be reviewed from the ground, with binoculars or a drone if needed.
Smart add-ons for older homes
Older Queen Anne homes often benefit from targeted specialty inspections. Consider these based on what the general inspector sees:
- Sewer scope. A video of the lateral line can reveal root intrusion, offsets, or clay pipe failures.
- Electrical review. Legacy wiring like knob-and-tube or undersized service may require an electrician’s assessment.
- Chimney and fireplace inspection. Masonry, flues, and liners in older chimneys often need attention.
- Roof and attic moisture check. Complex rooflines and ventilation can hide leaks, wet insulation, or mold conditions.
- Pest/WDO inspection. Helpful for identifying rot, carpenter ants, or other wood-destroying organisms.
- Radon test. Short-term testing can confirm whether radon is a concern in that specific home.
- Structural or foundation engineer. If there are settlement cracks, retaining wall movement, or hillside concerns, an engineer can evaluate risk and options.
- Lead paint or asbestos testing. Common in older homes. Testing informs scope and budgeting for remediation.
Costs and timing in Seattle
Expect pricing to vary by size, age, and complexity. Typical ranges for Queen Anne area homes:
- General home inspection: $400–$800
- Sewer scope: $150–$400
- Chimney inspection: $125–$300
- Radon test: $100–$300
- Mold/IAQ sampling: $200–$600+
- Electrician diagnostic visit: $150–$400
- Structural engineer consult and brief report: $800–$2,000+
- Roof drone inspection: $150–$400
- Pest/WDO inspection: $75–$250
Scheduling moves quickly in a hot market. A general inspection often takes 2 to 3 hours on site, longer for larger or historic homes. Many inspectors deliver digital reports within 24 to 48 hours, which keeps your offer timeline on track.
Use results to shape your offer
Your pre-inspection gives you options. Common strategies include:
- Waive the inspection contingency if you are comfortable with the findings and risk.
- Shorten the contingency period to a few days because most of your due diligence is done.
- Reference the report to target specific repair credits or price adjustments.
- Walk away if major structural, sewer, or drainage issues exceed your comfort or budget.
- Write an as-is offer with known issues accounted for in price and terms.
Remember, a pre-inspection is limited to what is visible. Hidden defects are still possible, so use specialty inspections where the general inspection raises red flags.
Scheduling and etiquette in Queen Anne
Pre-offer inspections require good coordination with the listing side. Follow these best practices:
- Contact the listing agent first. Confirm access, timing, and what the seller will allow.
- Be clear about scope. Some sellers allow visual inspections but not invasive tests before an offer.
- Keep it low impact. Plan for buyer, agent, and inspector only. Follow shoe and pet instructions.
- Get written permission for any invasive work. Do not remove materials or open walls without consent.
- Confirm report timing. Ask your inspector for a concise, photo-rich digital report within 24 to 48 hours.
Choose the right inspector
The right professional saves time and stress. Look for:
- Local experience in Seattle and Queen Anne, especially hillside and historic construction
- Clear credentials and insurance, plus sample reports that are easy to read
- Access to specialty tools or referrals for sewer, chimney, structural, or electrical evaluations
You can also review permit history through local records to understand what work may have been permitted or modified over time.
Quick buyer checklist
- Confirm with your agent that pre-offer inspections are allowed and discuss strategy.
- Prioritize add-ons like sewer scope, chimney, electrical, and drainage or foundation checks.
- Budget for a general inspection plus 1 to 2 specialty tests, often $700–$1,800 combined.
- Book quickly when a listing you like hits the market.
- Ask for a clear, photo-based report and use it to shape price and terms.
- Keep the visit efficient and respectful to maintain goodwill with the seller.
Next steps
A thoughtful pre-inspection can be the difference between winning a home and second-guessing your offer. If you want a team that knows Queen Anne’s older homes, typical pitfalls, and the best local inspectors, we are here to help. Reach out to The Shutes Team for buyer guidance, vendor referrals, and a clear plan for your next offer.
FAQs
What is a pre-inspection for a Queen Anne home?
- A buyer-ordered inspection done before submitting an offer, focused on identifying visible issues so you can decide on price, terms, and risk tolerance.
How much do pre-inspections cost in Queen Anne?
- Most buyers spend $700–$1,800 total for a general inspection plus 1 to 2 key add-ons, with exact costs based on property size and complexity.
Which specialty inspections are most useful for older homes?
- Sewer scopes, electrical evaluations, chimney inspections, and drainage or foundation reviews are common priorities for historic Queen Anne houses.
How do pre-inspection results impact my offer strategy?
- You may waive or shorten an inspection contingency, request targeted credits, or choose not to offer if the findings exceed your comfort level.
Can a seller limit what I inspect before I make an offer?
- Yes. Sellers often allow visual pre-inspections but may deny invasive testing before acceptance, so coordinate scope with the listing agent first.